Introduction
How to Find and Remove Check-Ins on Facebook
Check-ins on Facebook are a way for users to share their location with their friends and followers. Whether it’s a coffee shop, a bar, or a city, check-ins allow users to let others know where they are and what they’re up to. However, it’s important to manage your check-ins to ensure your privacy and control what information is shared.
Managing your check-ins is crucial to protect your personal information and maintain your online presence. By removing unwanted check-ins, you can maintain a clean and organized profile, and only share the locations that are relevant to you.
If you’re unsure how to find and remove check-ins on Facebook, don’t worry. There are simple steps you can follow to locate and delete check-ins from your profile. For more detailed information on managing your check-ins, you can visit lets-howto.com.
Steps to Find and Remove Check-Ins:
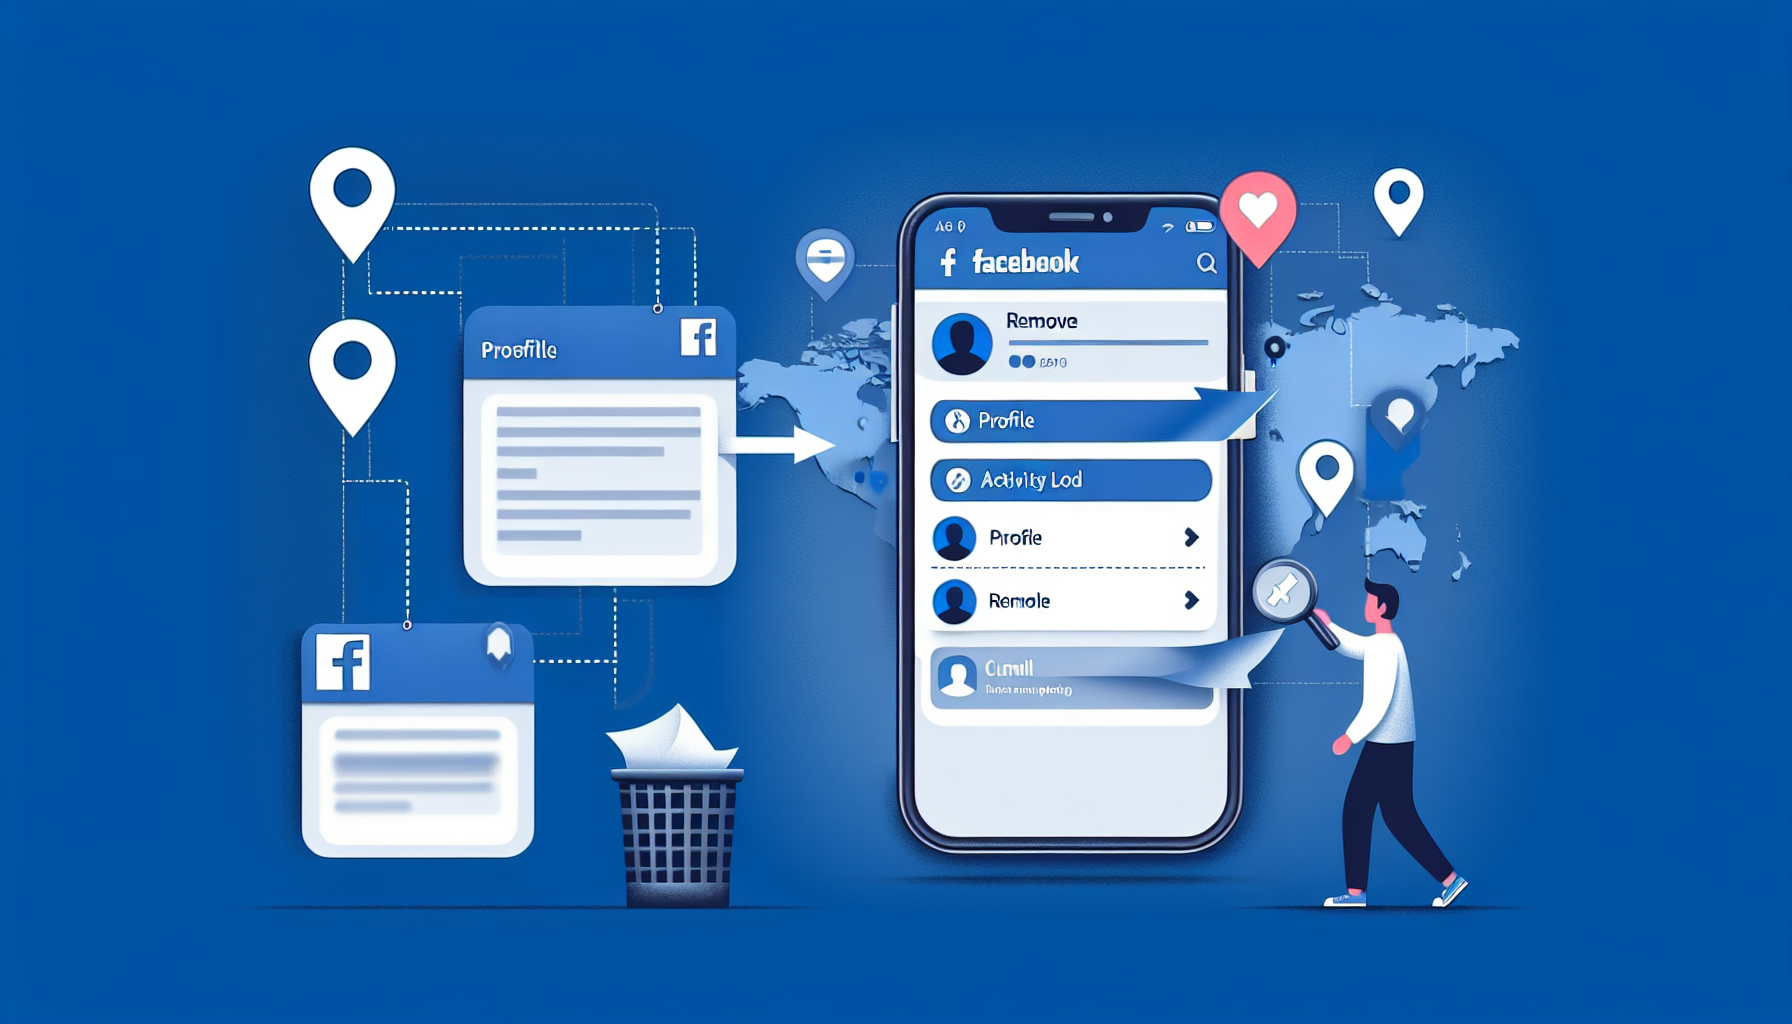
- Open the Facebook app and tap the menu button at the bottom right.
- Select “See Your Profile” at the top of the menu.
- Tap on the three dots next to “Edit Profile” and choose “Activity Log”.
- In the Activity Log, tap on “Manage Activity” at the top.
- Select “Posts” to view all your posts, including check-ins.
- Tap on “Filters” at the top left and choose “Categories”.
- Finally, filter for “Check-ins” to see all your previous check-ins.
- If you want to remove a specific check-in, tap on it and click the trash button at the bottom. Alternatively, you can tap the three dots next to it to archive or view the check-in.
By following these steps, you can easily manage and remove your check-ins on Facebook, keeping your profile tidy and controlling your location sharing. If you have any further questions or need additional assistance, feel free to leave a comment below. Happy managing!
Step 1: Accessing Your Profile
If you want to find and remove check-ins on Facebook, you’ll need to access your profile first. Here’s how to do it:
Tap on the menu button at the bottom right
To begin, open the Facebook app on your device and locate the menu button at the bottom right corner of the screen. It looks like three horizontal lines stacked on top of each other. Give it a tap to proceed.
Select ‘See Your Profile’ at the top
After tapping the menu button, you’ll see a list of options. Look for the option that says ‘See Your Profile’ and select it. This will take you to your Facebook profile page.
Locate the three dots next to ‘Edit Profile’
On your profile page, you’ll find the option to edit your profile information. Look for the three dots located next to the ‘Edit Profile’ button. These dots indicate additional options.
Tap on the three dots to access the activity log
Once you’ve located the three dots, give them a tap. This will open a drop-down menu with various options. Select the option that says ‘Activity Log’. This will take you to your activity log, where you can find all your past check-ins.
By following these steps, you’ll be able to access your profile and proceed to the next steps of finding and removing check-ins on Facebook. Stay tuned for the next section!
Step 2: Filtering for Check-Ins
Now that you have accessed your profile and activity log, it’s time to filter for check-ins. Follow these steps to easily find and manage your check-ins on Facebook:
Tap on ‘Manage Activity’ at the top
In the activity log, you’ll find the option ‘Manage Activity’ at the top. Tap on it to proceed.
Choose ‘Posts’ to filter for check-ins
Once you’ve clicked on ‘Manage Activity’, you’ll see a list of options. Select ‘Posts’ to view all your posts, including check-ins.
Access the filters by tapping on ‘Filters’
To further refine your search, tap on ‘Filters’ located at the top left of the screen. This will give you access to different filter options.
Select ‘Categories’ to further refine the search
Within the filter options, choose ‘Categories’ to narrow down your search for check-ins.
Filter for ‘Check-Ins’ to view all of them
Now, you can specifically filter for ‘Check-Ins’ to see a list of all your previous check-ins. This will allow you to easily manage and remove unwanted check-ins.
By following these steps, you can filter for check-ins on Facebook and have full control over your location sharing. Whether you want to delete specific check-ins or simply view your past activities, this feature will help you maintain a clean and organized profile. If you have any further questions or need additional assistance, feel free to leave a comment below. Happy managing!
Step 3: Managing Check-Ins
Now that you have accessed your profile and filtered for check-ins, it’s time to manage them. Here are some actions you can take to effectively manage your check-ins on Facebook:
Review all of your check-ins on the list
Take some time to go through the list of check-ins that are displayed. This will give you an overview of all the locations you have checked into on Facebook.
Navigate to a specific check-in if desired
If you are looking for a specific check-in, you can easily navigate to it by scrolling through the list and tapping on the check-in you want to view.
Delete a check-in by tapping the trash button
If you want to remove a specific check-in, simply tap on it and click the trash button at the bottom of the screen. This will permanently delete the check-in from your profile.
Archive a check-in by using the three dots menu
If you don’t want to delete a check-in permanently but still want to hide it from your profile, you can use the three dots menu next to the check-in and select the “Archive” option. This will move the check-in to your archived items.
Other actions available for managing check-ins
In addition to deleting and archiving check-ins, there are other actions you can take to manage them effectively. These actions may include editing the check-in details, sharing the check-in with specific friends, or adjusting the privacy settings for the check-in.
By managing your check-ins on Facebook, you can ensure that your profile remains organized and only displays the check-ins that are relevant to you. Whether you want to delete unwanted check-ins or simply archive them for future reference, these steps will help you maintain control over your location sharing. If you have any further questions or need additional assistance, feel free to leave a comment below. Happy managing!
Conclusion and FAQ
Congratulations! You now know how to find and remove check-ins on Facebook. Let’s recap the steps:
- Open the Facebook app and tap the menu button at the bottom right.
- Select “See Your Profile” at the top of the menu.
- Tap on the three dots next to “Edit Profile” and choose “Activity Log”.
- In the Activity Log, tap on “Manage Activity” at the top.
- Select “Posts” to view all your posts, including check-ins.
- Tap on “Filters” at the top left and choose “Categories”.
- Finally, filter for “Check-ins” to see all your previous check-ins.
- If you want to remove a specific check-in, tap on it and click the trash button at the bottom. Alternatively, you can tap the three dots next to it to archive or view the check-in.
Regularly managing your check-ins is important to protect your personal information and maintain a clean and organized profile. By removing unwanted check-ins, you have full control over what locations are shared with your friends and followers.
If you have any further questions or need additional assistance, feel free to leave a comment below. We’re here to help!
For more detailed information on managing your check-ins and other Facebook features, visit lets-howto.com.