Introduction
How to Address An Envelope To A Family
Knowing how to fill out an envelope is a basic skill that can come in handy in various situations. Whether you’re sending a letter, a card, or an invitation, properly addressing the envelope is important to ensure that your mail reaches its intended recipient. In this blog, we will go over the step-by-step process of filling out an envelope, using popular YouTubers as an example.
Before we proceed, it’s important to note that the addresses used in this demonstration are not confidential. Holly Forest and Shannon Rose are well-known YouTubers who have publicly shared their addresses on their channels. By using their addresses, we can provide you with a clear example without compromising anyone’s privacy.
If you prefer a visual demonstration, we encourage you to watch the video that accompanies this blog. The video will guide you through each step, providing a helpful visual aid as you learn how to fill out an envelope.
Step 1: Placing the Stamp
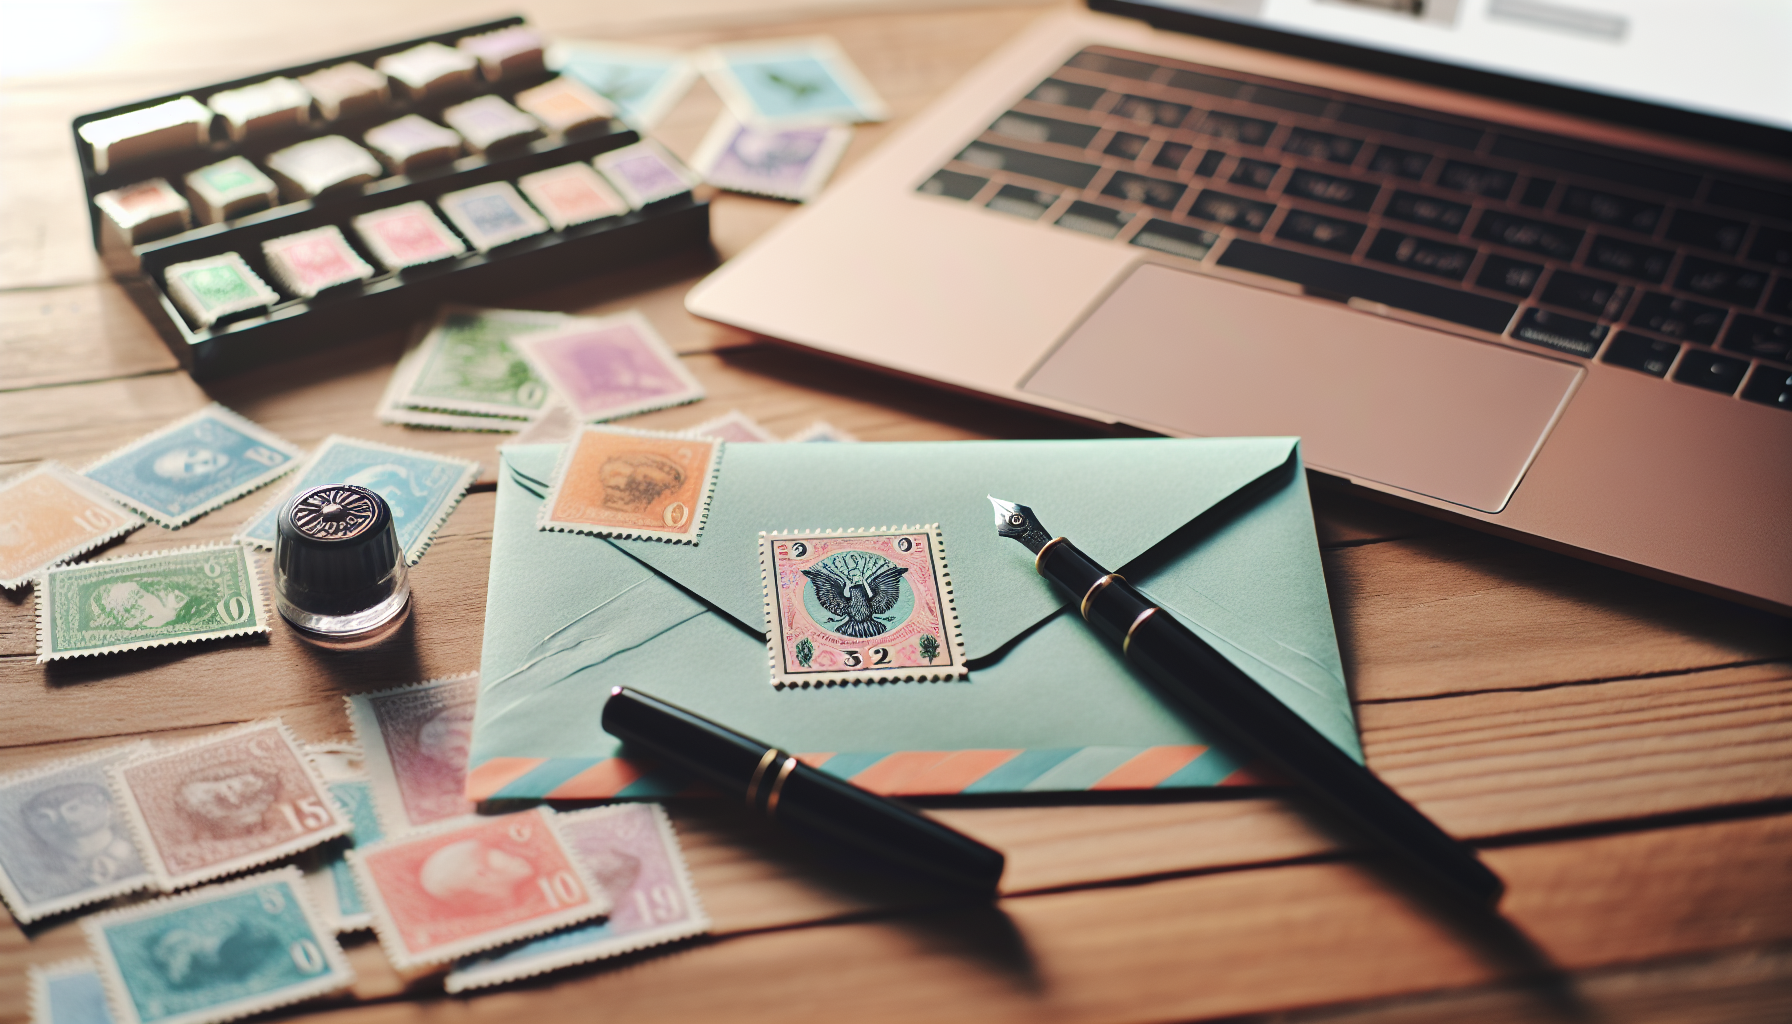
When filling out an envelope, it is crucial to place the stamp in the top right corner. This is important because it indicates that postage has been paid for the mail. Stamps can be quite expensive, so it’s essential to ensure that you place it correctly to avoid any additional costs or issues with delivery.
In the video demonstration, an actual stamp is not used, but it is important to remember that when you are sending mail, you should always affix a stamp in the top right corner. This demonstrates that you have paid for postage and allows the mail to be processed and delivered efficiently.
By following the placement guidelines and putting the stamp in the top right corner, you can be confident that your mail will reach its intended recipient without any problems or delays.
Step 2: Your Address
When filling out an envelope, it is crucial to include your address as the sender. This is important for several reasons:
- Ensures that the recipient knows who the mail is from.
- Allows for easy communication and response if necessary.
- Provides a return address in case the mail cannot be delivered.
When writing your address, it is essential to use legible print. Avoid using cursive handwriting, as it can be difficult to read. Legible print ensures that your address is clear and can be easily understood by postal workers.
The order of writing your address on the envelope is as follows:
- Your name: Write your full name in legible print. For example, if your name is Holly Forest, write “Holly Forest”.
- Your address: Start with your house number, followed by your street name. For example, if your house number is 123 Main Street, write “123 Main Street”.
- Your city and state: Write the name of your city and state. For example, if you live in San Bernardino, California, write “San Bernardino, CA”.
- Your postal code: Write your postal code. For example, if your postal code is 12345, write “12345”.
Here is an example of Holly Forest’s address with a PO Box:
Holly Forest
PO Box 1301
San Bernardino, CA 12345
Step 3: Recipient’s Address
Now that we have covered placing the stamp and including your own address, it’s time to address the recipient. Including the recipient’s address is crucial for a successful delivery and ensures that your mail reaches the intended person.
When writing the recipient’s address, it is important to use a blocky format for legibility. This means using clear and easy-to-read print to avoid any confusion or misinterpretation by postal workers.
For example, let’s address the envelope to Shannon Rose. We’ll use a fictional street address for demonstration purposes. The recipient’s address would be written as follows:
Shannon Rose
3691 Main Street
San Bernardino, CA 12345
Just like with your own address, it is important to include the recipient’s city and state. In Shannon’s case, she resides in San Bernardino, California, so we write “San Bernardino, CA” after the street address.
When it comes to the postal code, it is essential to include the full code. Postal codes can vary in length, but it is generally recommended to include the full code for accuracy. However, if you are sending mail within your own country and the postal code is longer, you can usually get away with using just the first five digits.
For example, Shannon’s postal code is longer than Holly’s, but you can still write just the first five digits as “12345” without including the remaining digits. This is typically sufficient for domestic mail.
By following these guidelines, you can ensure that your recipient’s address is clear and easily readable for efficient delivery. Remember to use legible print and maintain a blocky format to enhance readability and minimize potential errors.
Conclusion
In conclusion, filling out an envelope correctly is essential for ensuring that your mail reaches its intended recipient. Let’s recap the crucial elements of filling out an envelope:
- Place the stamp in the top right corner to indicate that postage has been paid.
- Include your address as the sender, using legible print for easy readability.
- Address the recipient’s address in a blocky format, also using legible print.
- Ensure that your handwriting is clear and easy to understand.
If you have any questions or need further clarification on any of the steps, please don’t hesitate to ask. You can leave your questions or comments in the comment section below. We are here to help!
Once you have filled out the envelope completely, don’t forget to insert your letter securely. You can use tape or lick the envelope to seal it properly. This will prevent your letter from falling out or getting damaged during transit.
Lastly, always remember the importance of legible handwriting. Postal workers rely on clear and readable addresses to ensure efficient delivery. By using legible print and maintaining a blocky format, you can minimize the chances of errors or misinterpretation.
We hope this step-by-step guide has been helpful in teaching you how to fill out an envelope correctly. With these tips in mind, you can confidently send your mail and ensure that it reaches its destination without any issues. Happy mailing!