Introduction
How to Block a Number on Your iPhone – Step-by-Step Guide
Blocking unwanted numbers on your iPhone is an important step to take in order to maintain your privacy and avoid unwanted calls and messages. Fortunately, the process is simple and quick, allowing you to block numbers with ease. In this guide, we will walk you through the different options available to block numbers on your iPhone, ensuring that you have the information you need to protect yourself. Whether you want to block a recent caller, a specific number, or all numbers during specific times, we’ve got you covered. To learn more about blocking unwanted numbers on your iPhone, check out this helpful guide on lets-howto.com. Let’s get started!
Blocking a Number from Recent Calls
If you want to block a number that has recently called you on your iPhone, follow these simple steps:
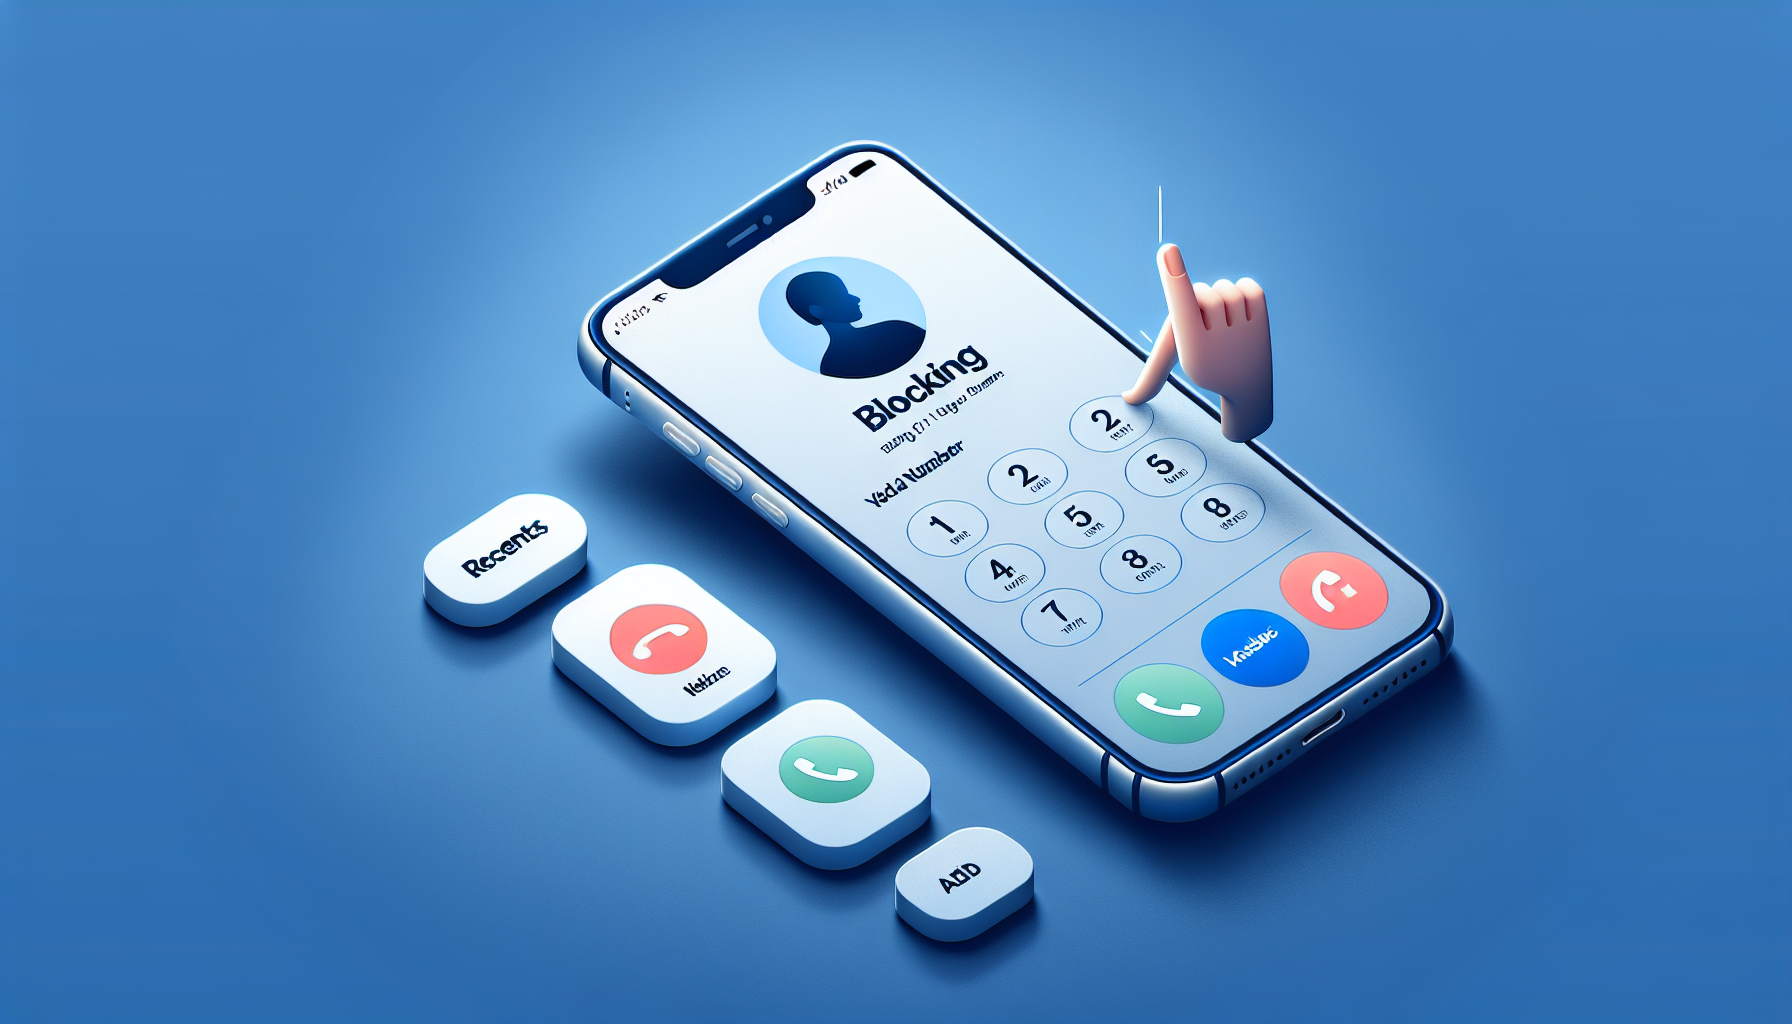
Step 1: Open the Phone app and tap on ‘Recents’
Open the Phone app on your iPhone and tap on the ‘Recents’ tab located at the bottom left corner of the screen.
Step 2: Find and select the number to be blocked
Scroll through the list of recent calls and find the number that you want to block. Once you’ve located the number, tap on the small ‘i’ button located to the right of it.
Step 3: Tap on the ‘i’ button next to the number
After tapping on the ‘i’ button, you will be taken to a new screen with more details about the caller. Scroll down on this screen until you find the option that says ‘Block This Caller’.
Step 4: Scroll down and tap on ‘Block This Caller’
Tap on the ‘Block This Caller’ option to block all forms of communication from that person. This means that you won’t receive any calls, messages, FaceTime calls, or iMessages from this specific number.
And that’s it! You have successfully blocked the number from your recent calls on your iPhone. By following these steps, you can easily maintain your privacy and avoid unwanted calls and messages.
Blocking a Number via Keypad
If you don’t have a recent call from the number you want to block, you can still manually enter and block the number using your iPhone’s keypad. Here’s how:
Step 1: Open the Phone app and tap on ‘Keypad’
Open the Phone app on your iPhone and tap on the ‘Keypad’ tab located at the bottom of the screen.
Step 2: Enter the number you want to block
Using the keypad, manually enter the specific number you want to block. Double-check the number to ensure accuracy.
Step 3: Create a new contact for the number
After entering the number, tap on ‘Add Number’ at the top of the screen. Then, select ‘Create New Contact’.
Step 4: Access the contact and tap on ‘Block This Caller’
Now, go to your Contacts app and find the contact you just created. Scroll down on the contact’s details until you find the option that says ‘Block This Caller’ and tap on it.
By following these steps, you can manually enter and block a number on your iPhone using the keypad. This method is useful when you don’t have a recent call from the number and still want to block it to maintain your privacy and avoid unwanted calls and messages. Remember, blocking a number ensures that you won’t receive any calls, messages, FaceTime calls, or iMessages from that specific number.
Blocking All Numbers with ‘Do Not Disturb’
If you want to block all numbers on your iPhone during specific times, you can use the ‘Do Not Disturb’ feature. Here’s how:
Navigating to the ‘Do Not Disturb’ option in Settings
To access the ‘Do Not Disturb’ option, open your iPhone’s Settings app. Scroll down and tap on ‘Focus’.
Explaining the purpose of ‘Do Not Disturb’
The ‘Do Not Disturb’ feature allows you to silence calls and notifications during specific times. This is especially useful when you want uninterrupted sleep or need to focus on important tasks.
Demonstrating how to set a custom schedule for blocking calls
Under ‘Do Not Disturb’, you can choose to set a custom schedule. Tap on ‘Scheduled’ and select the start and end times for the blocking period. For example, you can set it to silence calls and notifications between 10:00 PM and 8:00 AM.
Mentioning the option to allow calls from specific contacts
If you still want to receive calls from certain contacts during the ‘Do Not Disturb’ period, you can specify them under the ‘People’ section. Add the contacts you want to allow calls from, such as family members or close friends.
Highlighting the ‘Allow Repeated Calls’ feature
In case of emergencies, you can enable the ‘Allow Repeated Calls’ feature. When this feature is on, if the same person calls you twice within three minutes, the second call will not be silenced. This ensures that urgent calls can still reach you.
By using the ‘Do Not Disturb’ feature on your iPhone, you can block all numbers during specific times, providing you with much-needed peace and focus. Remember to customize the settings according to your preferences and allow important contacts to reach you in case of emergencies.
Managing Blocked Contacts
If you have blocked contacts on your iPhone and need to manage them, follow these steps:
Accessing the ‘Block Contacts’ section in Settings
To manage your blocked contacts, open your iPhone’s Settings app. Scroll down and tap on ‘Phone’. Towards the bottom of the screen, you will find ‘Block Contacts’.
Explaining the functionality of the ‘Block Contacts’ section
Within the ‘Block Contacts’ section, you will find a list of all the contacts you have blocked on your iPhone. This includes phone numbers, email addresses, and even FaceTime contacts.
Unblocking a contact by swiping left
If you want to unblock a contact, simply find their name or number in the ‘Block Contacts’ list. Then, swipe left on their name and tap on ‘Unblock’. This will remove them from your blocked contacts list.
Reviewing and editing the list of blocked contacts
If you want to review or edit your blocked contacts list, simply scroll through the ‘Block Contacts’ section. You can easily identify blocked contacts by their name or number. If you want to make changes, such as blocking or unblocking a contact, you can do so from this screen.
By managing your blocked contacts, you can ensure that you have control over who can reach you on your iPhone. Whether you need to unblock a contact or review your list, these steps will help you maintain your privacy and avoid unwanted calls and messages.
Conclusion
In this guide, we have covered the steps to block a number on your iPhone. Let’s summarize the key points discussed:
- You can block a number from recent calls by tapping on the “i” button next to the number and selecting “Block This Caller”.
- If you don’t have a recent call from the number, you can manually enter and block it using the keypad by creating a new contact and selecting “Block This Caller”.
- You can block all numbers during specific times using the “Do Not Disturb” feature in the Settings app. Customize the schedule and allow calls from specific contacts if needed.
- To manage blocked contacts, go to the “Block Contacts” section in the Phone settings. Swipe left on a contact to unblock them.
We encourage you to take advantage of these features to maintain your privacy and avoid unwanted calls and messages on your iPhone. For more detailed instructions and visual guidance, visit our blog at https://lets-howto.com/.
FAQ
Here are some frequently asked questions about blocking numbers on your iPhone:
Can I block a number without opening the Phone app?
No, in order to block a number, you need to open the Phone app on your iPhone.
What happens if someone tries to call me while I have ‘Do Not Disturb’ enabled?
If someone tries to call you while ‘Do Not Disturb’ is enabled, their call will be silenced and you won’t receive any notifications. However, if the same person calls you twice within three minutes, the second call will not be silenced to ensure that urgent calls can still reach you.
How can I unblock a contact if I change my mind?
To unblock a contact, go to the Settings app on your iPhone and scroll down to ‘Phone’. Tap on ‘Block Contacts’ and swipe left on the contact you want to unblock. Then, tap on ‘Unblock’ to remove them from your blocked contacts list.
Will blocking a number also block their text messages?
Yes, blocking a number will block all forms of communication from that person, including calls, text messages, FaceTime calls, and iMessages.
Can I schedule different ‘Do Not Disturb’ settings for different days?
Yes, you can customize the ‘Do Not Disturb’ settings by setting a custom schedule. This allows you to specify different blocking times for different days of the week. Additionally, you can allow calls from specific contacts during the ‘Do Not Disturb’ period by adding them to the ‘People’ section.